
Wednesday, December 26, 2012
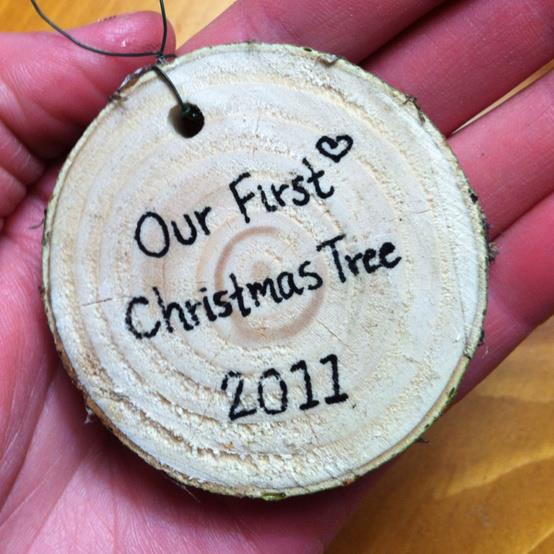
First Christmas Ornament
Friday, December 7, 2012
Christmas Mantel

The dried hydrangeas for the wreath are from my yard. I secured them on a craft wreath then sprayed glue all over the flowers. I then sprinkled glitter all over the wreath. (OUTSIDE of course!) I plan to insert battery powered mini Christmas lights in the wreath but haven't done so yet. I have a nail at the top of the mirror frame just over the edge to the back to hang the wreath ribbon on. Merry Christmas!
Wednesday, October 31, 2012
More Family


Dining Room Remodel-French Country
Well, it's been a while since I have posted but I HAVE been busy! Ready to share the results now! With my family expanding (all the chillins' are married now and reproducing!) I decided that my beautiful Baby Grand piano had to go to allow me to create a dining room. I wanted to create a WHITE ROOM. (My husband thought that was ridiculous! ) I love to find old or outdated furniture and refinish it. I chose a French Country decor. (At least, that's what my friend Debbie called it AFTER I had finished!) I will show you before and after pictures. This process took about 6 months. This is the MUSIC ROOM before I began remodeling.


I couldn't resist adding very light pastel color to the carvings on all the chairs. After painting and distressing all my furniture, I aged them with Annie Sloan paste wax and wax brush. Beautiful finishing touch! First time I have used Annie Sloan products. LOVE!!


The fake fireplace, tile and painted walls were done about 10 years ago. Thank goodness the color of the walls fit in perfectly with my "WHITE ROOM!" Otherwise, it would have taken me much longer to finish.

There are 5 softly muted pastel colors that I blended onto the walls with a lambswool applicator. Fun!


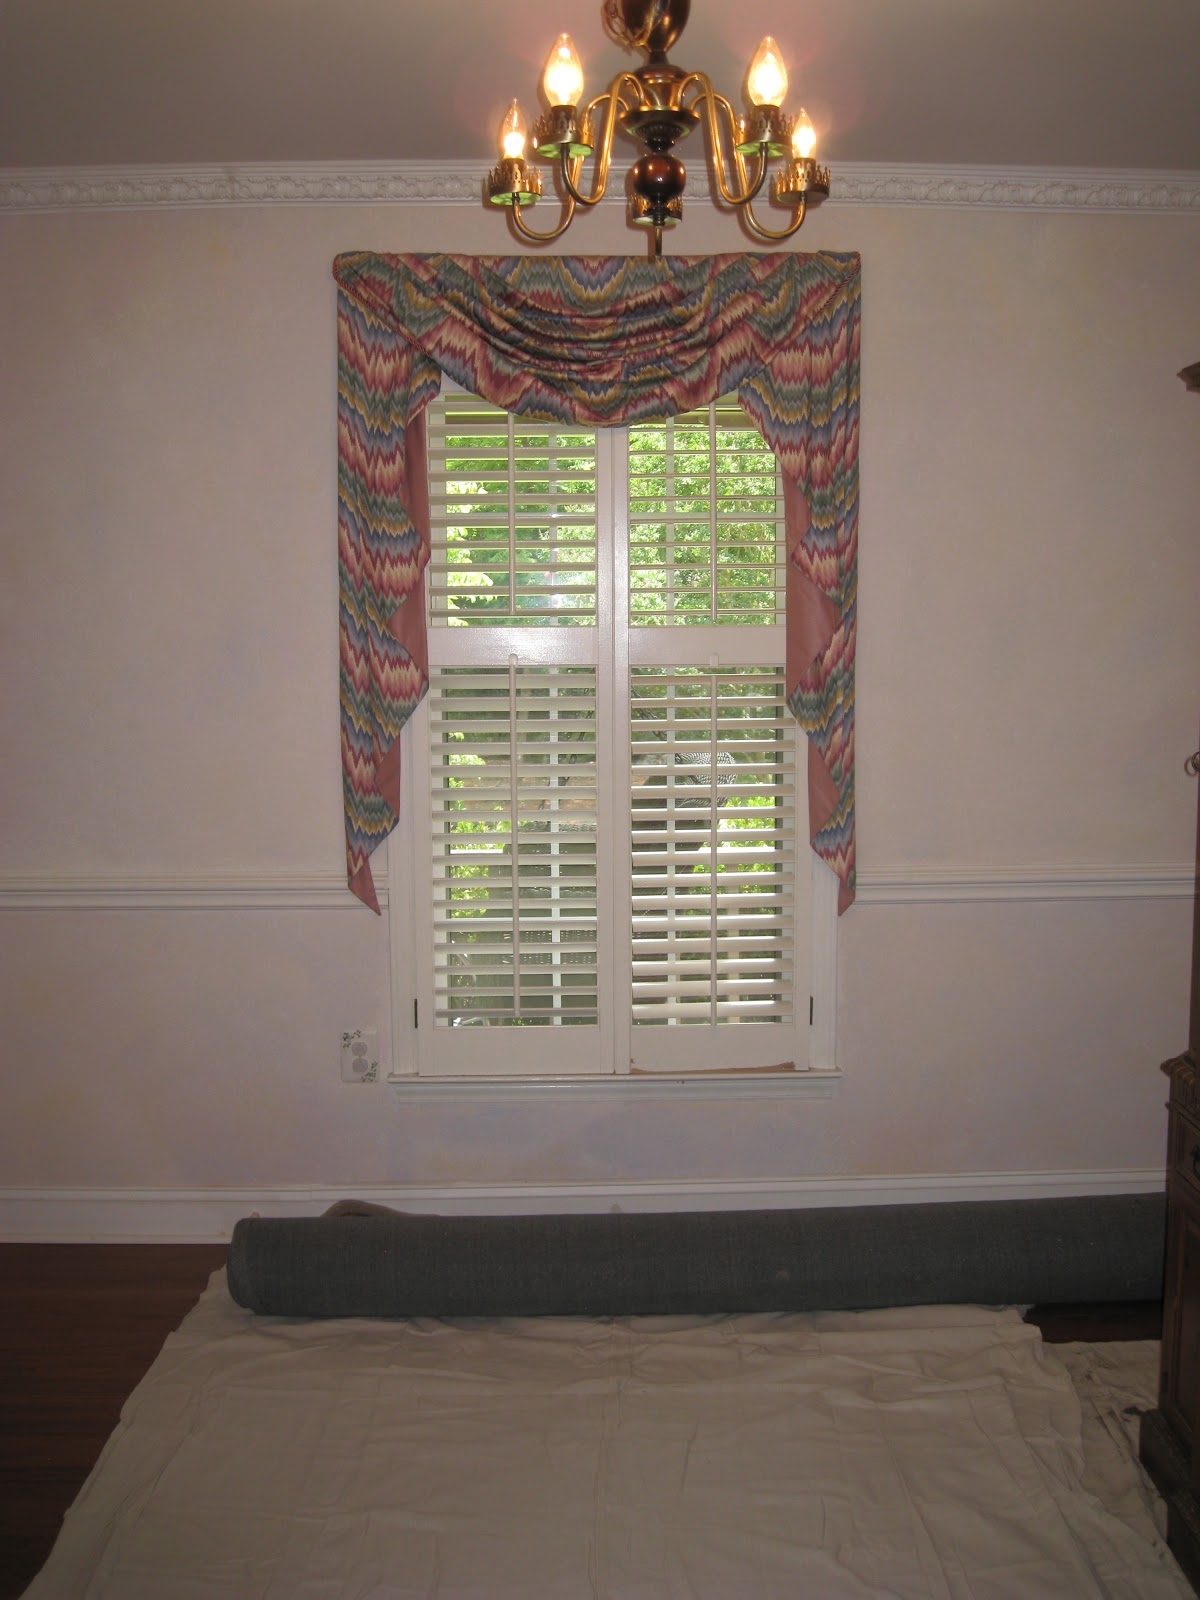
This is the room AFTER I sold the piano and cleared out the room,

I then began my search for old furniture. I found this china cabinet at a Restore.
BEFORE:
An old 1970's cabinet

DURING:
I removed the back and shelves. I painted the cabinet and shelves a BISQUE WHITE and distressed with sandpaper. I glued a lovely Victorian Rose fabric to the back. I also lined the inside of the drawers with the fabric.


AFTER:


BEFORE
I LOVE carved Roseback chairs! I needed 10 chairs for my table (another great find at a ReStore) but could not find matching chairs. So I painted and distressed all the chairs to look alike.

I also love Balloon back chairs and needlepoint seats. But I couldn't find the right color needlepoint for my "white room" so I covered these 2 chairs without damaging the needlepoint.

DURING:

I couldn't resist adding very light pastel color to the carvings on all the chairs. After painting and distressing all my furniture, I aged them with Annie Sloan paste wax and wax brush. Beautiful finishing touch! First time I have used Annie Sloan products. LOVE!!

A little comic relief from my sweet Adeline! (That's what I felt like doing sometimes!)

AFTER:


I found the coolest 100 yr. old solid wood Victorian posts that I wanted to place in 2 corners of the room. Bought them on Ebay! They were 9 ft. tall so they had to be cut to fit. That's where my Honey came to my rescue! He went with me to Kinston NC to help me bring them back. He also cut them to fit and placed and secured them in the room. Thanks Sweetie!
(He actually HATES it when I get creative urges! He RUNS for cover!)

There were several objects and items that I refinished that I already had. Candlesticks, an old fireplace surround, a mirror, plantholders/shelves, etc. that I will show the before pics for you.


The fake fireplace, tile and painted walls were done about 10 years ago. Thank goodness the color of the walls fit in perfectly with my "WHITE ROOM!" Otherwise, it would have taken me much longer to finish.

There are 5 softly muted pastel colors that I blended onto the walls with a lambswool applicator. Fun!

This is the FINISHED WHITE DINING ROOM!


THANKS FOR STOPPING BY!
Saturday, March 3, 2012
Bookcase project

This is another piece of furniture that I have had for many years. I had it custom made from an unfinished furniture store. I stained it a rich walnut color and added embellishments to the doors. I had doors for the top also but recently removed them, filled in the hinge holes, sanded and restained those areas. I am using the top as an open bookcase now. I wanted to do something to "doctor it up" on the inside without painting. I thought about wallpaper but I didn't want the hassle of removing it later, so....

........I decided to cut cardboard to fit the inside of the bookcase and cover it with fabric. If I wanted to change it out later, I can just remove the fabric and tape on something different! I found the perfect material in the remnant selection...and it was on sale! I started with the correct measurements, (meaning I had incorrect measurements at first! I hate anything with numbers!!) then cut the cardboard on my mat cutter.

I placed the cardboard on top of my fabric and began cutting. I chose a dark basketweave color because I didn't want the fabric to compete with the books....it would be to busy. I taped the fabric around the backside of the cardboard with duct tape. (My father-in-law lived by the phrase...."You can fix ANYTHING with clorox, WD40 or duct tape!" He was RIGHT!)


fabric that was left! Of course it was on the very bottom! And of course, it was NOT on sale anymore! I argued with the saleslady but to no avail. Oh well.....just thankful the fabric was still there!


Now, what to do with these little corbel cuties.....???
Friday, February 24, 2012
My first two projects!
My friend Debbie gave me a shelf to practice on. So this is the BEFORE picture. I love the crackled look so I painted a base color of pale green and a top coat of black over the crackling medium.

She loved it! (As any good friend would!)


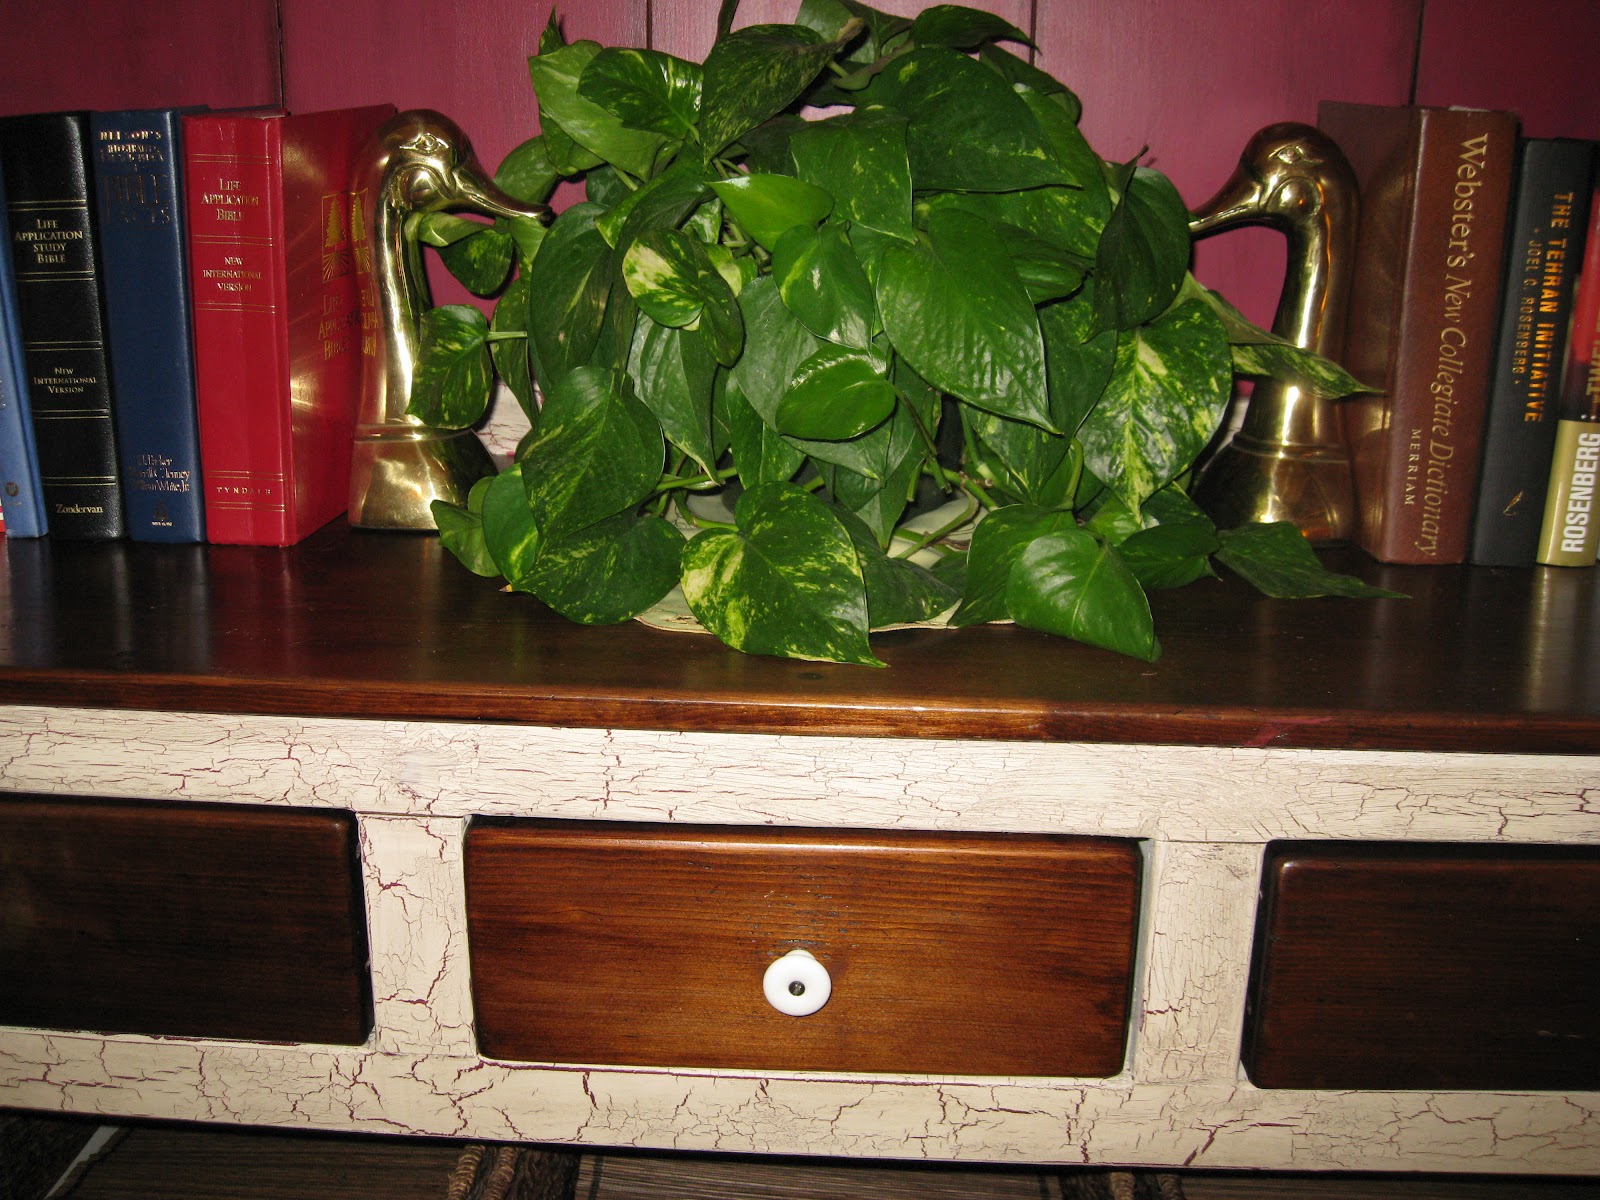
I almost didn't give it back to her! My next project was a old hutch that I have been using for years, I wanted to use the crackling method again so I painted a base coat of cranberry red and topcoated with ivory white over the crackling medium.

Nothing like being creative on a cold rainy day in your PAJAMAS! When I finished the two coats I noticed it still looked to .....new, not aged like I wanted, so.... I "dirtied it up" with antiquing glaze. Much better! I also wanted to leave some areas stained so I sanded and restained the table area and the drawers. Voila! Finished project #2!


As you can tell...I LOVE COLOR! Thanks for stopping by! On to my next project!

She loved it! (As any good friend would!)


I almost didn't give it back to her! My next project was a old hutch that I have been using for years, I wanted to use the crackling method again so I painted a base coat of cranberry red and topcoated with ivory white over the crackling medium.

 |


As you can tell...I LOVE COLOR! Thanks for stopping by! On to my next project!
Subscribe to:
Posts (Atom)