PAINTED FURNITURE

Sunday, March 24, 2013

PAINTED FURNITURE UPDATE

Helllooo!  Long time no see! I have been busy so I thought a cold rainy day (on my 60th Bday) would be a great day to update my blog.
I have been painting more furniture and venturing into the retail aspect of my creations.  I have been timid about trying to sell my painted "babies" ( I get attached to everything I work on) but I decided to give 'er a go!


Here are some of my before and after pics.


Add caption
This is a used portable file cabinet that I found in a Thrift store that my daughter Laura took me to in Durham NC.

SOLD!

Repaired and painted black with Zebra Print material (which I found in a remnant bin for a great price!) wrapped around and glued to drawers with cute glass knobs added.


Inside painted turquoise for a happy surprise!


This is a plain wood end table that I found at a local Goodwill Store that I painted up all Zebra and 
Turqouisey also! (I also forgot to take a before pic....I get all excited and jump into the project and 
forget! )                                                                                               


I love to find old headboards and "gussy" them up!  Another great find at Goodwill. This is a full size headboard perfect for a girl's room. (Yes, I got excited again and forgot to take a before pic...but I caught myself about 30 min. into it!)

SOLD!

Finished product! Zebra on the brain!! I have to use all that material!  When I use material on a 
headboard, it is a 4 step process. It is padded and finished with hand sewn piping trim.


Yes...I forgot again.  Anyway, this is a full or queen size headboard from Goodwill.  Love the bones on this one!

SOLD!


This would look great in a quest room!  Antique White ASCP Paint and distressed with Victorian Flowered Material.


Before.....

GRANDDAUGHTER!

HA! You did NOT think I was over ZEBRA mania, did you?!  Again...perfect for a girl's room.....OR, a  REALLY cool, hip GRANDMA!  Just sayin'....


This is a twin headboard.  Can't leave the boys out, can we?.....


In Charlotte....Racing, of course! This is painted with a custom mix of ASCP Charcoal Grey and Antique White with adorable race car material.


Before....had to do a bit of repair and prep on this twin headboard.


Hand painted background with cutouts from same race car material as previous headboard.


Don't I look.....industrious?!  I don't have a really good place to work in my house in the winter so I had to take over the media room.  Michael has to walk, jump....crawl through an obstacle course to get to the sofa....then he can't find the remote!  I will withhold anymore details about this scenario....

SOLD!


One more headboard...this is the first one that I did.   It was all stained wood that I painted with ASCP Old White and Duck Egg Blue then distressed. Kind of a beachy look.  This item has already SOLD! Yeah!


Now, on to non-headboard items. This is a piece I picked up at Brookdale Place where my Mom is.  They were updating the building and allowing residents and family to bid on furniture. It was all stained walnut wood before I began painting it Old White and distressing it.


SOLD!


Darling!...I think!


Another piece from Goodwill...was all stained wood. This media table had a few repairs to do before I could begin painting it with ASCP Duck Egg Blue but nothing serious.

SOLD!


I love to use maps on furniture. Different, huh?  (Sorry these pics are not very clear)


These are some old King Louis style side chairs that needed updating. The bones were great but needed to be reupholstered. I had never done that before but....what the heck! Let's try something new! So I redid ONE of them...... 

SOLD!

Can you see WHY I only did one!?  This was a trip to the WILD SIDE!  Way out of my BOX!  If this does not sell...I will have to redecorate a WHOLE ROOM around this chair!   NOT!! Michael would DIE!  I may have to donate it to Goodwill...if they will TAKE it!


OK....I'm finally getting the hang of BEFORE pics! 

AFTER


THANKS!!

Wednesday, December 26, 2012

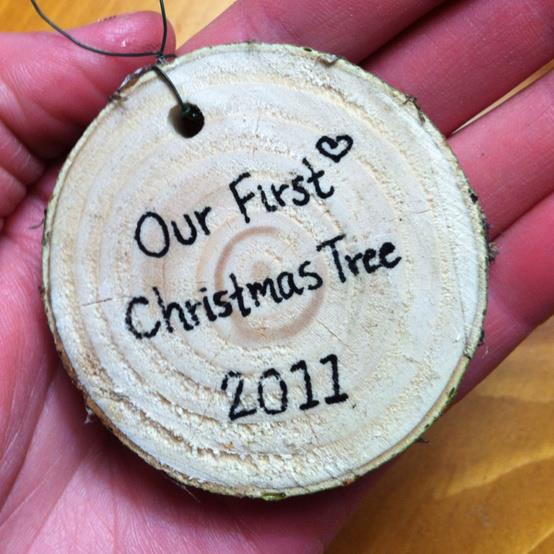
First Christmas Ornament

I thought this was a neat way to celebrate one's first Christmas together!  You saw off a sliver of wood from the bottom of the tree and decorate it however you like.  Cute!!

Friday, December 7, 2012

Christmas Mantel

Thought I would share a pic of my fireplace mantel in the new dinning room decorated for Christmas.

The dried hydrangeas for the wreath are from my yard.  I secured them on a craft wreath then sprayed glue all over the flowers.  I then sprinkled glitter all over the wreath. (OUTSIDE of course!)  I plan to insert battery powered mini Christmas lights in the wreath but haven't done so yet.  I have a nail at the top of the mirror frame just over the edge to the back to hang the wreath ribbon on.  Merry Christmas!


Wednesday, October 31, 2012

More Family

                                                    College Grad Todd!

                                            Sweet Adeline and Bella
                                                         My Penelly-jelly!

                                            Newlyweds Vance and Katie
 Precious Piper teaching Granddaddy the proper technique for thumb sucking!


Dining Room Remodel-French Country

Well, it's been a while since I have posted but I HAVE been busy!  Ready to share the results now! With my family expanding (all the chillins' are married now and reproducing!) I decided that my beautiful Baby Grand piano had to go to allow me to create a dining room.  I wanted to create a WHITE ROOM.  (My husband thought that was ridiculous! ) I love to find old or outdated furniture and refinish it.  I chose a French Country decor. (At least, that's what my friend Debbie called it AFTER I had finished!) I will show you before and after pictures. This process took about 6 months.  This is the MUSIC ROOM before I began remodeling.


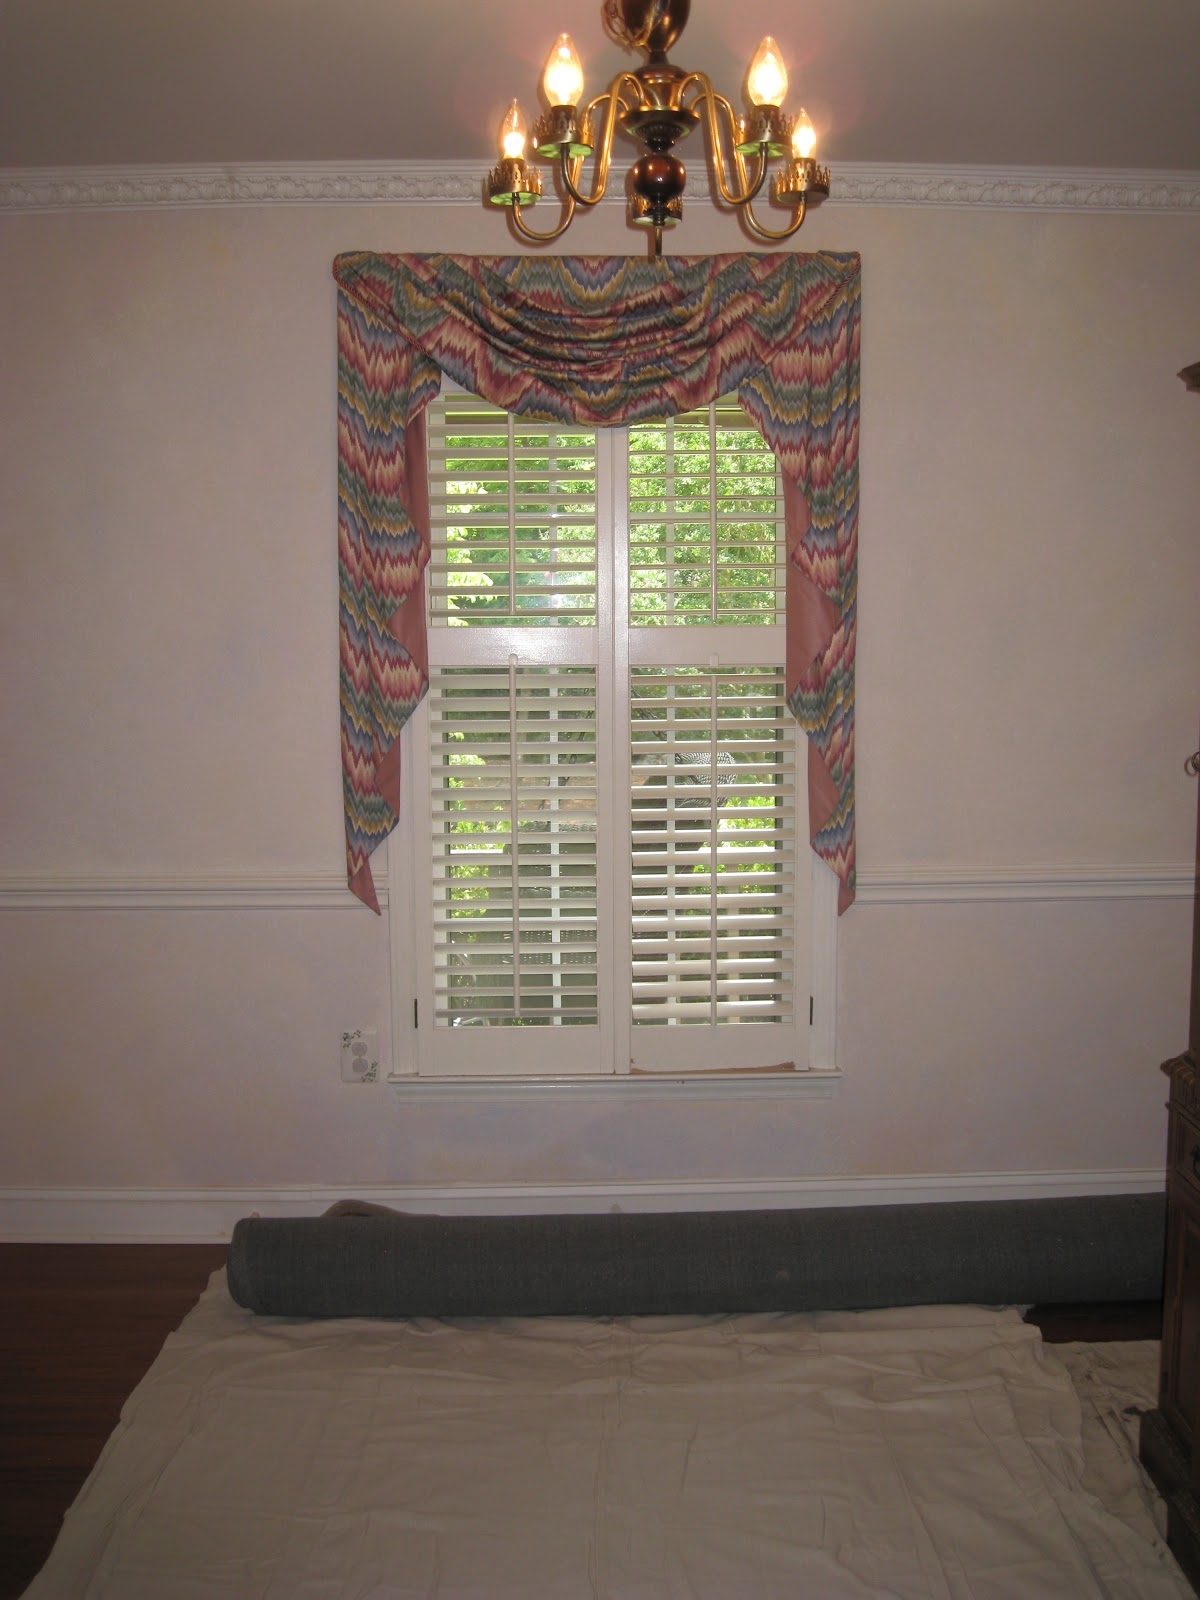
This is the room AFTER I sold the piano and cleared out the room,


I then began my search for old furniture. I found this china cabinet at a Restore. 

BEFORE:
An old 1970's cabinet

 DURING: 
I removed the back and shelves.  I painted the cabinet and shelves a BISQUE WHITE and distressed with sandpaper. I glued a lovely Victorian Rose fabric to the back.  I also lined the inside of the drawers with the fabric.


AFTER:


BEFORE
I LOVE carved Roseback chairs! I needed 10 chairs for my table (another great find at a ReStore) but could not find matching chairs. So I painted and distressed all the chairs to look alike.

I also love Balloon back chairs and needlepoint seats.  But I couldn't find the right color needlepoint for my "white room" so I covered these 2 chairs without damaging the needlepoint.


DURING:


                     I couldn't resist adding very light pastel color to the carvings on all the chairs. After painting and distressing all my furniture, I aged them with Annie Sloan paste wax and wax brush.  Beautiful finishing touch!  First time I have used Annie Sloan products. LOVE!!


A little comic relief from my sweet Adeline!  (That's what I felt like doing sometimes!)


AFTER:


I found the coolest 100 yr. old solid wood Victorian posts that I wanted to place in 2 corners of the room.  Bought them on Ebay!  They were 9 ft. tall so they had to be cut to fit.  That's where my Honey came to my rescue!  He went with me to Kinston NC to help me bring them back. He also cut them to fit and placed and secured them in the room.  Thanks Sweetie!
(He actually HATES it when I get creative urges!  He RUNS for cover!)


There were several objects and items that I refinished that I already had. Candlesticks, an old fireplace surround,  a mirror, plantholders/shelves, etc. that I will show the before pics for you. 


The fake fireplace, tile and painted walls were done about 10 years ago.  Thank goodness the color of the walls fit in perfectly with my "WHITE ROOM!" Otherwise, it would have taken me much longer to finish.


There are 5 softly muted pastel colors that I blended onto the walls with a lambswool applicator.  Fun!


This is the FINISHED WHITE DINING ROOM!


THANKS FOR STOPPING BY!

Saturday, March 3, 2012

Bookcase project


This is another piece of furniture that I have had for many years.  I had it custom made from an unfinished furniture store.  I stained it a rich walnut color and added embellishments to the doors.  I had doors for the top also but recently removed them, filled in the hinge holes, sanded and restained those areas.  I am using the top as an open bookcase now.  I wanted to do something to "doctor it up" on the inside without painting.  I thought about wallpaper but I didn't want the hassle of removing it later, so....


........I decided to cut cardboard to fit the inside of the bookcase and cover it with fabric.  If I wanted to change it out later,  I can just remove the fabric and tape on something different! I found the perfect material in the remnant selection...and it was on sale!  I started with the correct measurements, (meaning I had incorrect measurements at first!  I hate anything with numbers!!) then cut the cardboard on my mat cutter.


I placed the cardboard on top of my fabric and began cutting. I chose a dark basketweave color because I didn't want the fabric to compete with the books....it would be to busy.  I taped the fabric around the backside of the cardboard with duct tape.  (My father-in-law lived by the phrase...."You can fix ANYTHING with clorox, WD40 or duct tape!"  He was RIGHT!)


I added stick-on velcro strips (about an inch long that I cut myself) on each corner and stuck the first panel on.  Yaayy!  It worked!  I then realized I would need to cut a hole in the opposite panel for the electrical cords.  Oh joy.  More measurements.... Anyway....here is the finished product!  I could have finished this in one afternoon but I cut the last two pieces of fabric the opposite way of the previous panels.....not good.  The different direction of the fabric design completely changed the color!  I had to go back to the store the next day to hunt through the REMNANT section to find the one yard of
fabric that was left!  Of course it was on the very bottom! And of course, it was NOT on sale anymore!  I argued with the saleslady but to no avail.  Oh well.....just thankful the fabric was still there!


                                                      On to the next project!  
                            Now, what to do with these little corbel cuties.....???